For the last few years I've been living in the city I've wanted to have a 'garden' on my balcony. Not having a garden or a lawn or green space is hard in the city, even though I do live in a fairly green neighbourhood. I think it's that there is something lovely about making from scratch, getting your hands dirty and making it grow.
I may have caught this itch from my grandmother on my father's side, my Nan, who was an impeccable gardener. She could make just about anything grow and had the most beautiful gardens when I was a girl, and kept great gardens up until she died. I best remember her cascading lawn garden with levels upon levels of fruits, flowers and vegetables. It felt like they were growing from nothing they always brought around the best birds and insects. My grandparents home in St. Catherines was like a secret garden, but I have a feeling I may be remembering it with rose coloured glasses.
Either way I've always wished I had an ounce of the talent she did with plants, but sadly there is a point I must confess; I do not have the greenest thumbs and in turn kill quite a few of my plants. Even the ones that are guaranteed to not die. I'm that good. So with the coming of warm weather I began a plan and plot for grander, though probably not truly 'grande' designs.
This is part one, of two parts (I think). Now as much as I love pretty flowers and plants I love cooking more and thought I'd try my hand at herbs and vegetables.
First thing I did was grab the essentials.
Soil

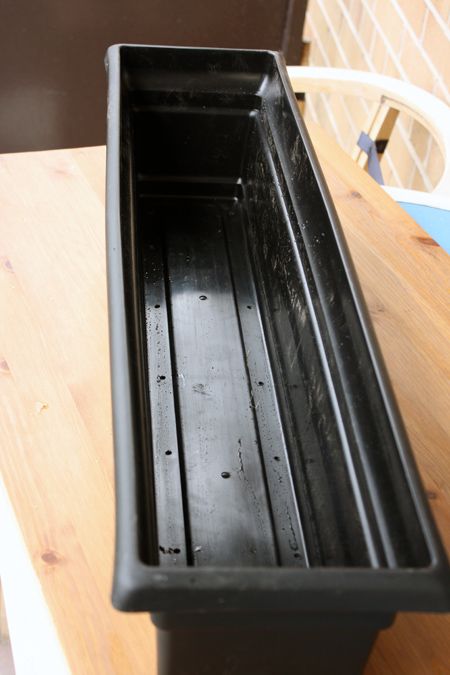
Planter
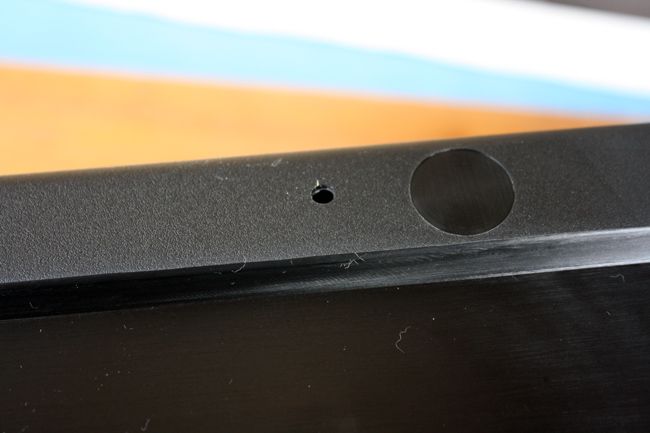
These are the small but effective holes Zach drilled in the bottom of my planter that will allow for proper drainage. Which, again getting a little convessiony, is important as I overwater like a champ and must have that drainage to keep from smothering my lovely new veg with all the water.
Plants.... and Pommies
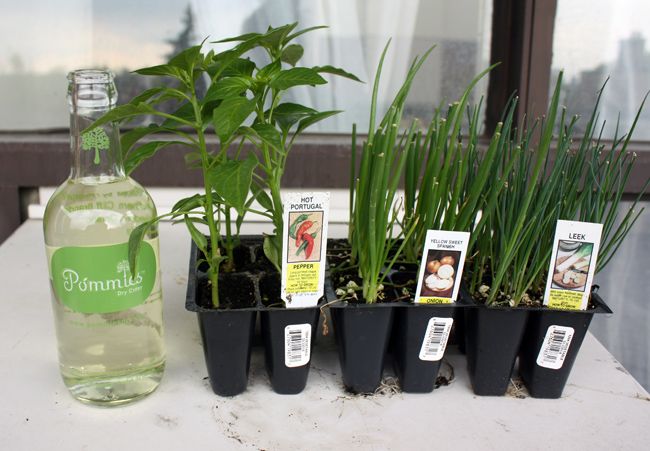
I guess something for the dirt would be smart? And what better to plant than onions, hot portugal peppers and 'comedy third option' (as Zach calls it) leeks! Not to mention we all need a drink here and there while gardening, especially on a nice, warm and sunny day in early spring.
I'm always a fan of all kinds of onions so I gravitate towards onions and leeks. I might not be getting huge yield on these vegetables but as the other half keeps reminding me, this is for fun! So what if they die.
A Touch of Spring

And there we have it! A small box happily filled (pun intended) with some hopefully tasty vegetables. It's still a little on the cold side right now so I don't think they'll be living outside in the evenings (I'll truck them in to my kitchen table, where all my other plants live).
I'm generally pleased with the progress on the weekend, was able to get a bit of part two started and can't wait to do more.
On a side note, remember to keep your plants up high enough, or have a squirt bottle ready.

This is what happens when your cats, who don't like onions, but like the stems of onions get near your newly potter plants. Bad Oscar.