
Originally I had planned for some picture to canvas transfers with two large canvas' I picked up months ago. When that didn't happen and I was devoid of something to fill the empty space on my bedroom wall I became antsy.
Zach had been painting a lovely table we found on the side of the road for our balcony (pics of that to come as well) and we had some blue paint leftover. Combined with my theivery of the DIY Idea from Apartment Therapy's post '10 DIY Wall Art Ideas That Anyone Can Do' which I'm very sure was inspired by some real abstract art (Birds on a wire 37, abstract oil painting) by Maria Kitano, I made this!

I love, love, love this blue. It's soo electric and I should really go find the name of it (there's still half a half gallon can left after these suckers and Zach's table) but for now it is my electric blue. It's one of those colours that jumps out at you and I'm pleased to say I now have a bathing suit in this wonderful shade.
I know in most of the 'Bird on a Wire' paintings the birds are hand painted along with the wire lines but I am not skilled with a paintbrush when it comes to details. Sculptures maybe, but pure paint on a canvas? I do NOT have the dexterity for that. So what did I do?
Here's my 'recipe' Bird on the Wire for the crafter how-to.
Supplies
- Canvas (you could do this with 1, 2 or 10)
- Paint for your background (optional, I used indoor wall paint matte. Glossy would be bad since you're painting your birds on top of your background)
- Paint for your birds
- Stiff paper or thin cardboard about 4"x4"
- pencil
- scissors (of good freaking quality)
- 1x Large paint brush (background)
- 1x Small paintbrush (birds)
- String/Twine (thicker the better)
- Paint tray small
- Paint tray large
- Drop clothes (or newspaper)
Estimated Time
1 Day (includes Dry times and multiple coats)
Directions
I didn't exactly do this with a lot of forethought so I'll try and keep it simple.
1. You need to paint your canvas base that takes only a minute or two per canvas with a dry time of 15-50 minutes depening on the type of paint you're using. Remember to paint the sides of your canvas, even though it's a little awkward to do so when it's wet. You'll appreciate it when you 'round a corner and see a clean line.
2. Plan out where your 'wires' will fall and approx. how large your birds will be. Then draw a loose design of your bird facing front on one 4x4 stiff paper and then another with your bird looking left or right (to keep symmetry I used one stencil for my left and right by just flipping it to paint the bird in a different direction.) Do your best to keep the size of the bird stencils as close as possible.
3. Cut the birds out leaving a complete and smoothed stencil. If yours has rough inside edges use the sharp edge of your scissors to smooth them out. You don't want strange shapes in your birds.
4. Pour your black paint in your large paint tray. Measure the length of the twine you'll need for your wire by pulling it along your dry canvas. Leave an extra few inches on either side so you can grab your twine.
5. Dip your twine (not 'handles') into paint and coat well, but be sure it's not dripping. With a steady hand pull the twine taut and then lay it down on the canvas without moving. I wanted a broken line look so I was gentle on letting it touch the canvas but if you want to go crazy otherwise for a solid line push it down hard.
6. Create a second line and then discard twine. Wait for 'wires' to dry.
7. Place stencil of bird on wire and paint. Let both stencil and bird dry before attempting another bird on the wire. This was by far the most time consuming process. But it led to a consistant size among all the birds.
9. Dry then hang!
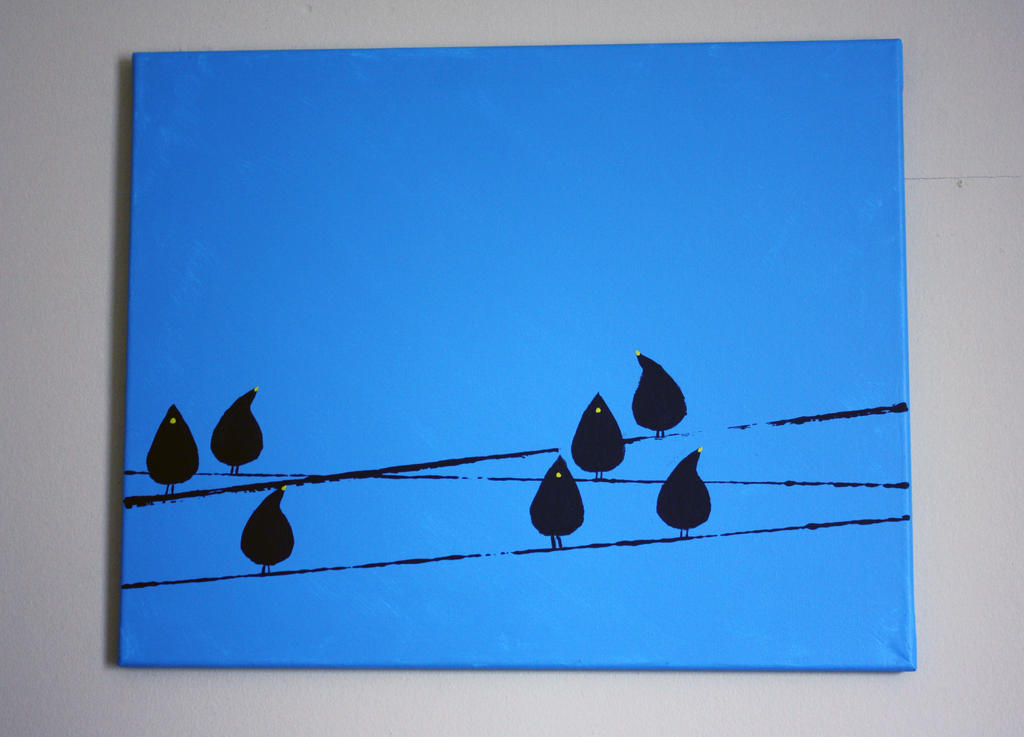
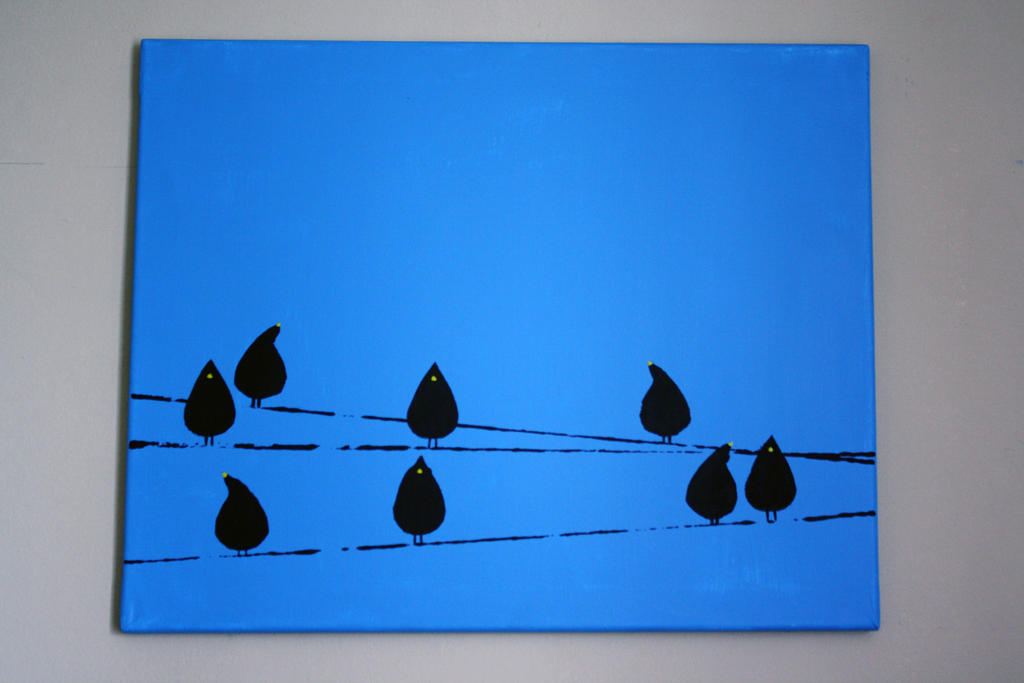
Here are the individual paintings so you can see the differences and similarities. All made from 2 stencils of my little bird.
If you try it yourself send me a link! I'd love to take a look and see how many birds on wires are infesting the homes of the DIY world.
LISA! I heart you! PS- I like your blog template. I might look for it myself
ReplyDeleteIm sending you the Liebster award over on my blog. Come check it out and complete it!
http://wafflingdesign.blogspot.ca/2012/08/i-got-liebster-award.html
Haha you're hilarious and YAY! I feel special.
DeleteThe template is a basic one but the photo is mine. Took it in pickering, let me know if you want the photo or one of the variations for blog backgrounds and the like. They're all available on my Deviant Art page but not always at a huge resolution like this one. Yup... I keep those for myself! I'm sneaky like that.
http://leebeewilly.deviantart.com/gallery/
I will totally post about the Liebster award. Q's are already done and ready to go!